More often than not, clients deliver PDFs without white ink — usually they do not even know what it is. To save you manual work, we build a PitStop Pro action that adds white ink automatically.
What is white ink (dekwit)?
'White ink' is common in the label and packaging industry. It is a layer of white ink applied under or over other colours when printing on metallic, fluorescent or transparent substrates. Common spot-colour names are Spot_White, HPwhite, White-Ink and White. In large-format and DTF you also see 'CW' (Color-White) and 'WC' (White-Color): white first then colour, or vice versa.
That white layer ensures printed colours appear accurate and vivid on the final product, because the substrate's background colour no longer influences them. Think of window stickers, clothing or bottles.
Just design it, right?
You often receive files without this ink. You could reply 'just design it, then' — but the client usually has no idea how. So we do it with a single action.
The challenge: select everything without hidden objects
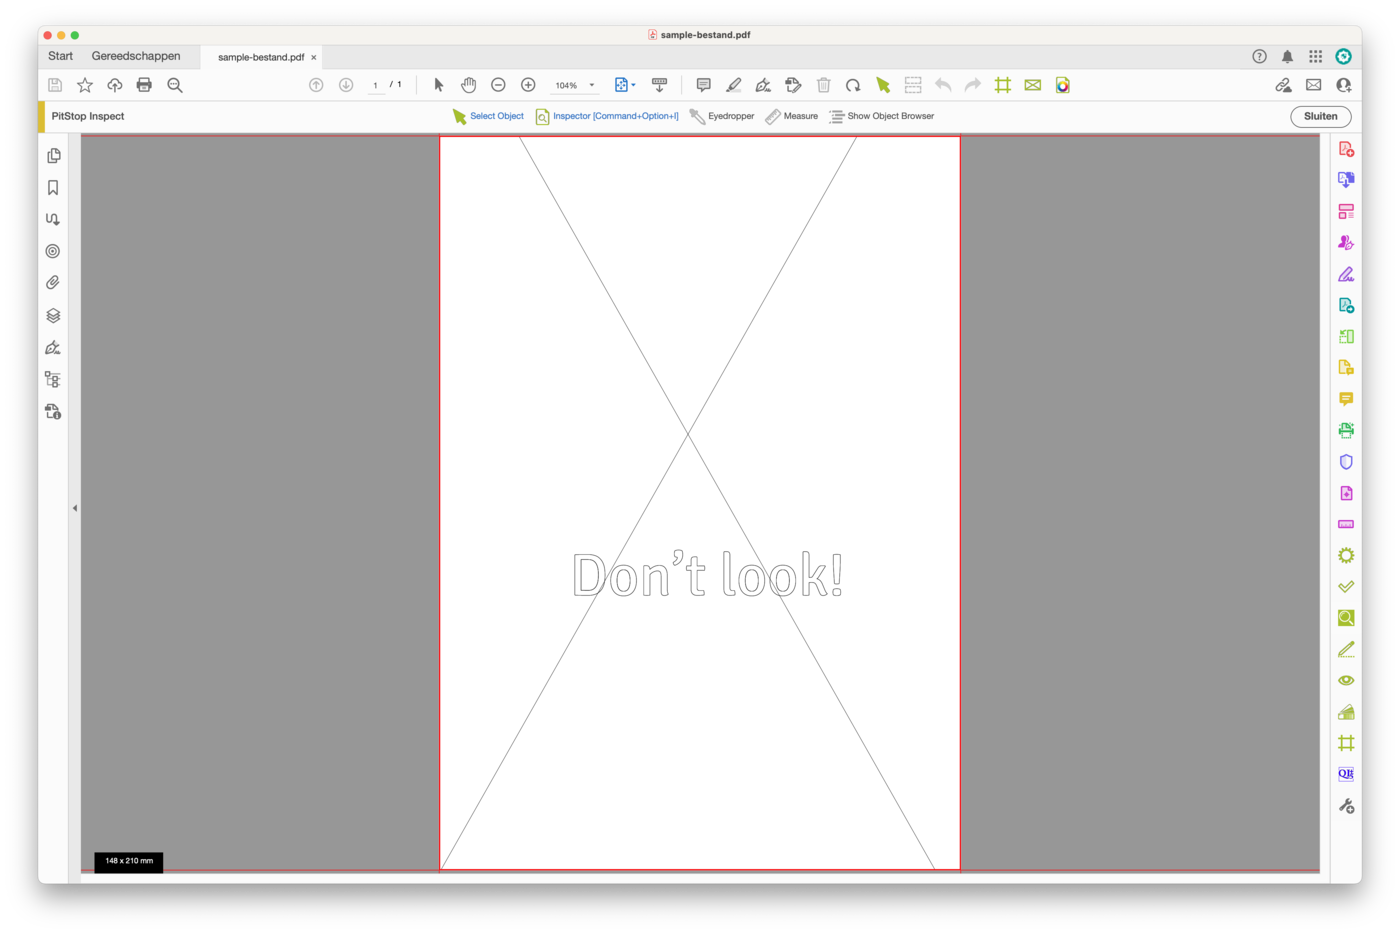
A PDF contains fonts, vectors, pixels, masks and all sorts of other things. How do you select everything without hidden objects or white gaps? I made a simple example document with vectors and an image — see the wireframe of the objects.
Steps 1 & 2: Action and tracing
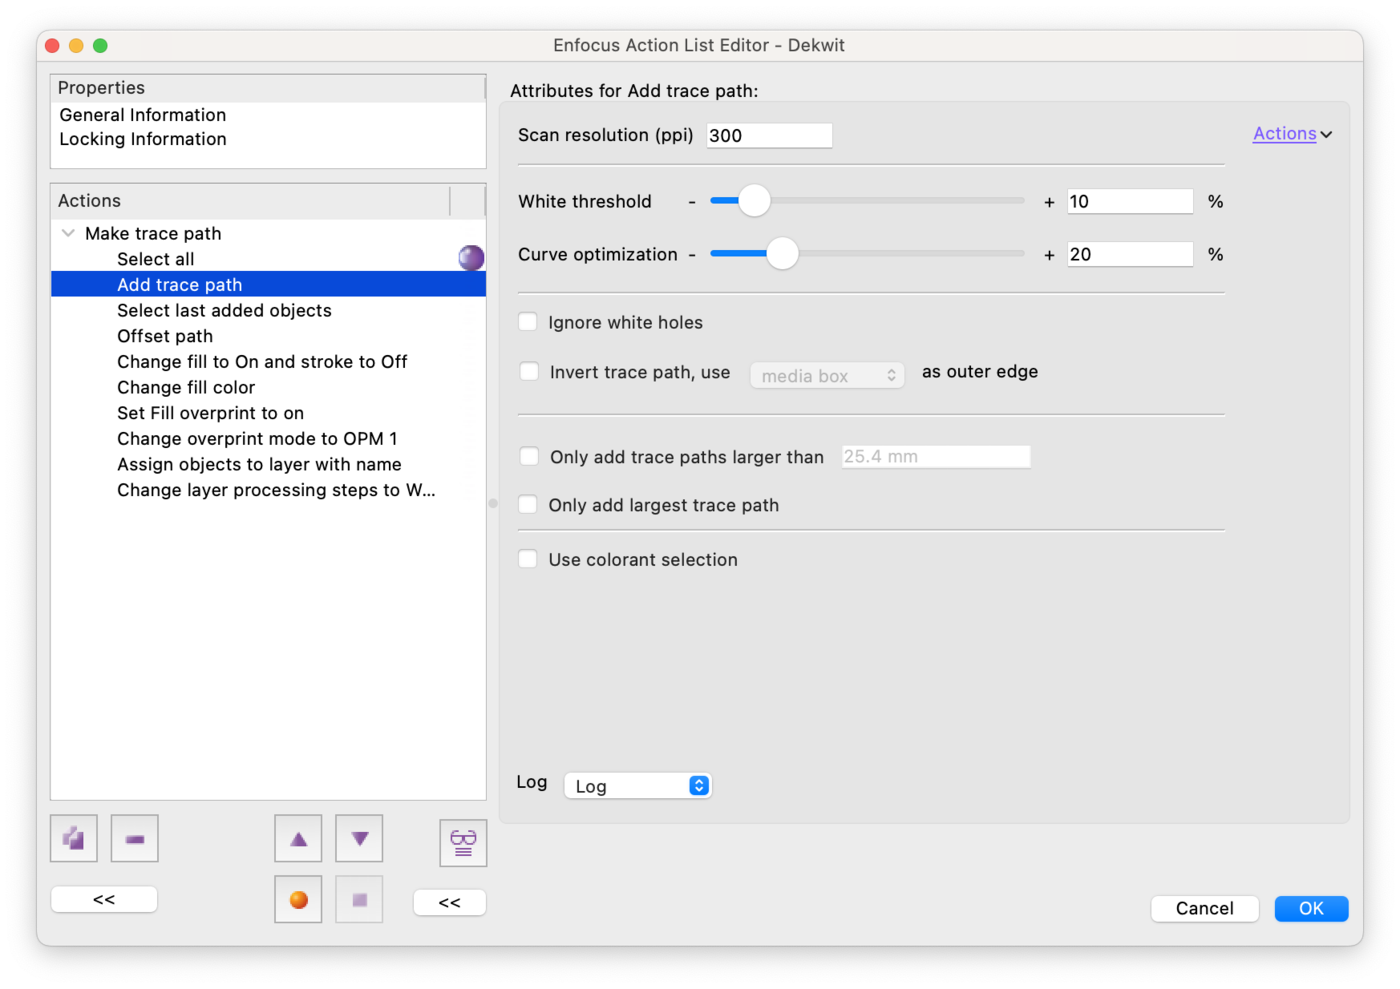
Create a new Action in PitStop Pro, for example 'White'. First choose 'Select all' and add 'Add trace path' with the right settings. This traces everything — remember Adobe Streamline? Something like that.
Step 3: Shape, colour and overprint
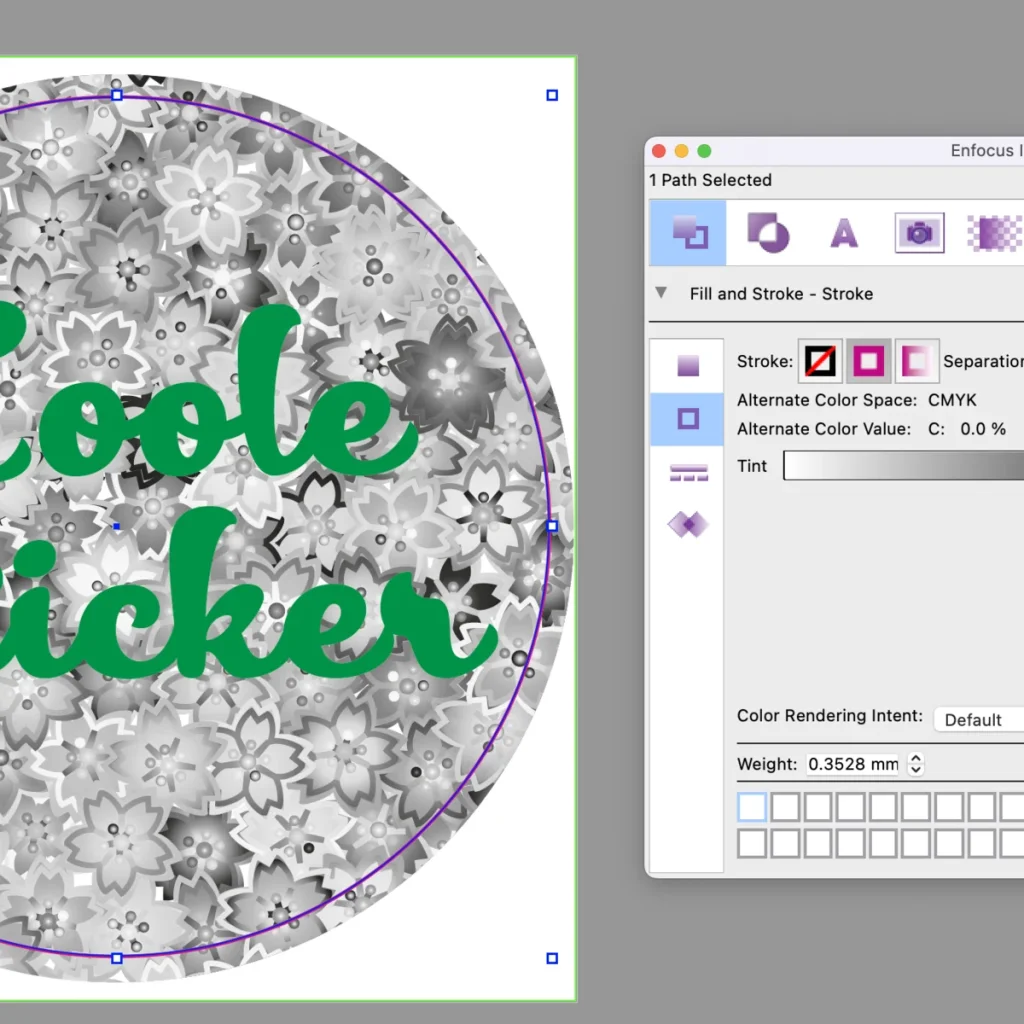
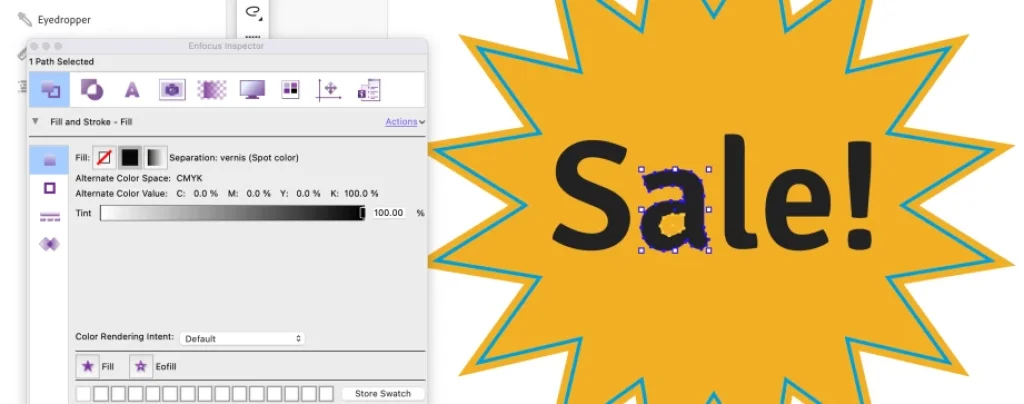
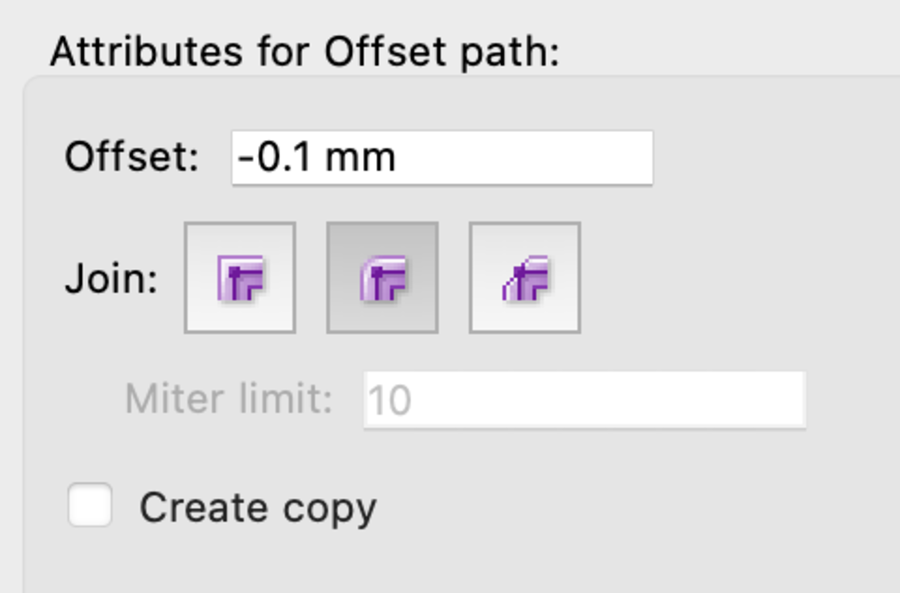
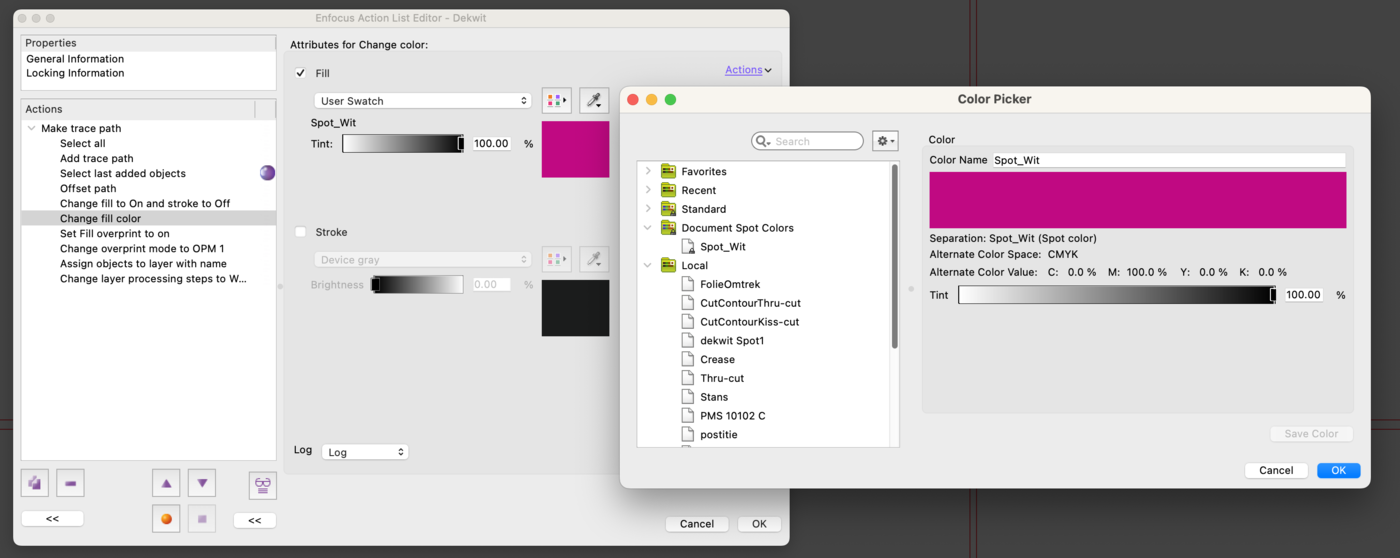
Add these steps: 'Select last added objects' (we reuse the outline); 'Offset path' to trap the white by 0.1 mm; 'Change fill' (fill on, stroke off); 'Change color' to the spot colour 'Spot_White' with an alternative magenta representation; 'Change overprint' (set fill to overprint, since white ink must overprint); and 'Change overprint mode' to OPM1 — the same method Adobe Illustrator uses.
Step 4: Assign to a Processing Step layer
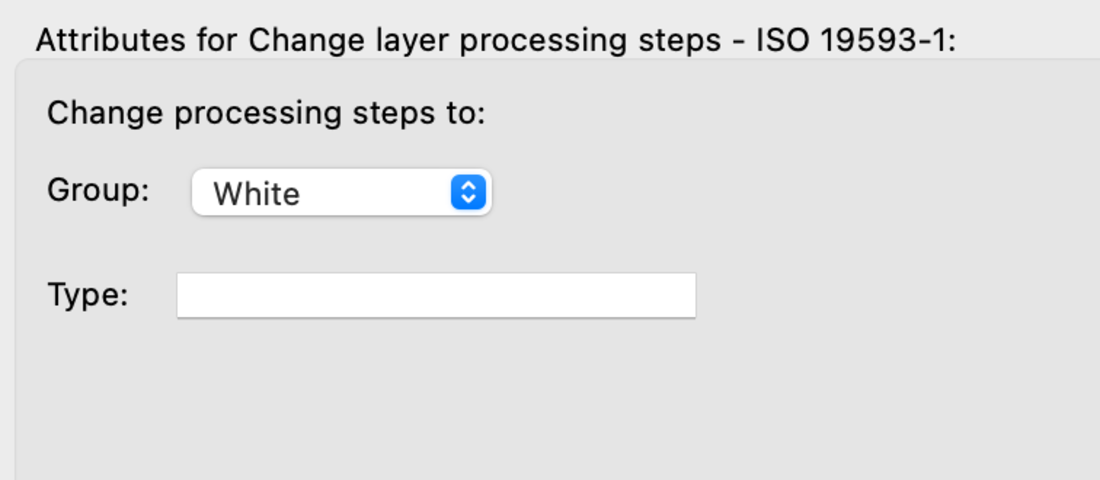
A neat trick: assign the selection to a layer named 'Spot_White' and make it compliant with the Processing Steps standard (ISO 19593-1). Any system that knows this specification then recognises it as white ink.
Final note
In an automated workflow you load this action into Enfocus PitStop Server / Switch and add white ink or cutting lines fully automatically. Give it a try — it saves a lot of work!

Credits: illustration by cottonbro CG studio.