Tutorial: a single press of a button creates an imposition complete with registration marks and data matrix codes.
You know the drill: quickly create an imposition, add a registration mark, place a data matrix, export a PDF and send it to the printer. It looks simple, but it takes quite a bit of work. That data matrix is needed for the sequence on the gathering machine.
The main bottlenecks are:
often only one person in the entire company can do this;
the data matrix is different on every sheet.
So how do you automate that without any programming knowledge?
What are we going to do?
Set a PDF for imposition at the touch of a button, complete with registration marks and data matrix codes for the gathering machine.
What is the gain?
Streamlining one production process. We assume an experienced DTP operator is at work. We go from ± 6 minutes to 1 minute per job. With 15 jobs that is already a gain of 1.5 hours! We also go from a high to a low error rate — a single reprint can already match that time.
What software do you need?
We assume everyone has Adobe InDesign, Illustrator or Adobe Acrobat Pro. In addition, Enfocus PitStop Pro and the most widely used imposition application in the Netherlands, Quite Imposing Plus, deliver the biggest automation gains.
Step 1: create a base template for the sheets
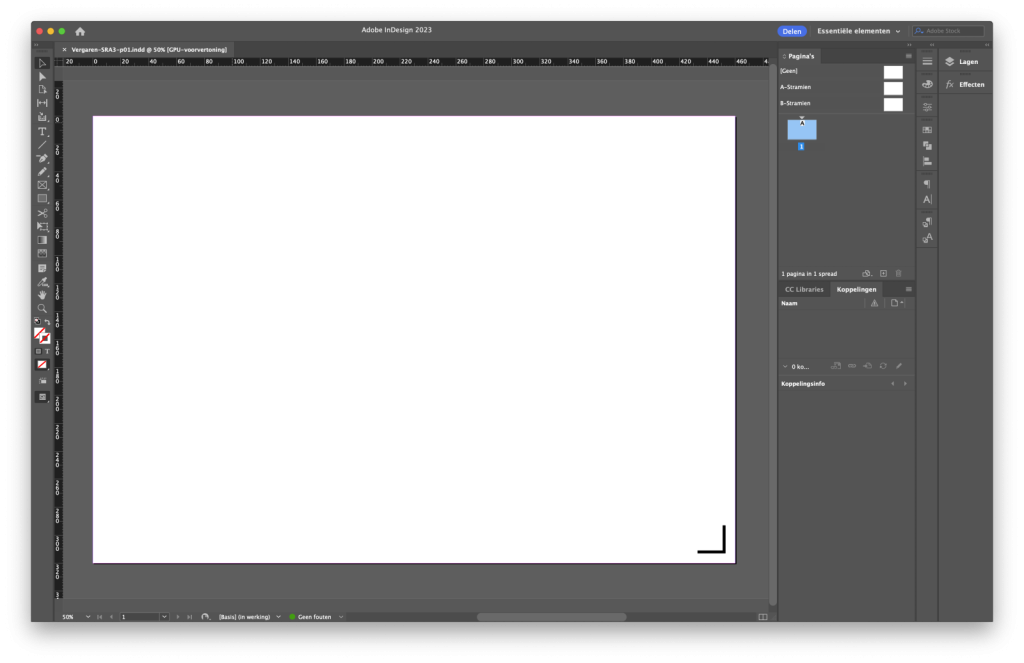
Quite does not create registration marks itself, so we start by making an SRA3 template with a registration mark in InDesign — all according to your machine's specifications. Whether you do it landscape or portrait depends on your own standard way of working.
Example: InDesign SRA3 template with 10 pages and a registration mark.
Step 2: enrich the base template with the right data matrix
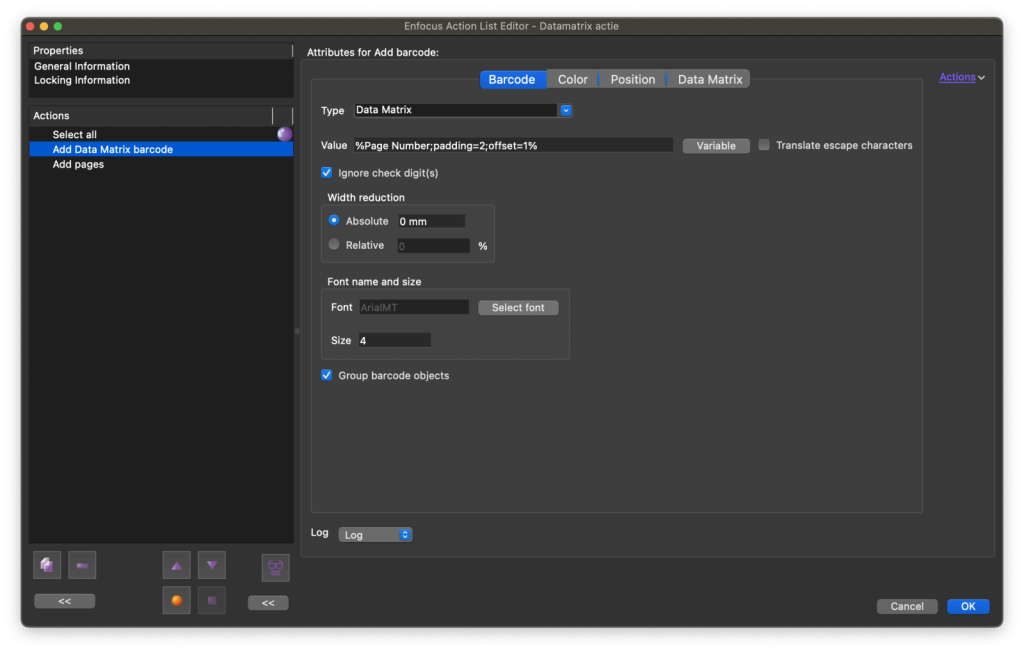
The machine expects a maximum of 10 signatures with a two-number data matrix around each page: an increment of +1 per 2 pages on the odd sides of the sheet (e.g. 01, 02, 03, …). You can use a free online data matrix generator for this, or create a reusable action in PitStop Pro. We go for the latter.
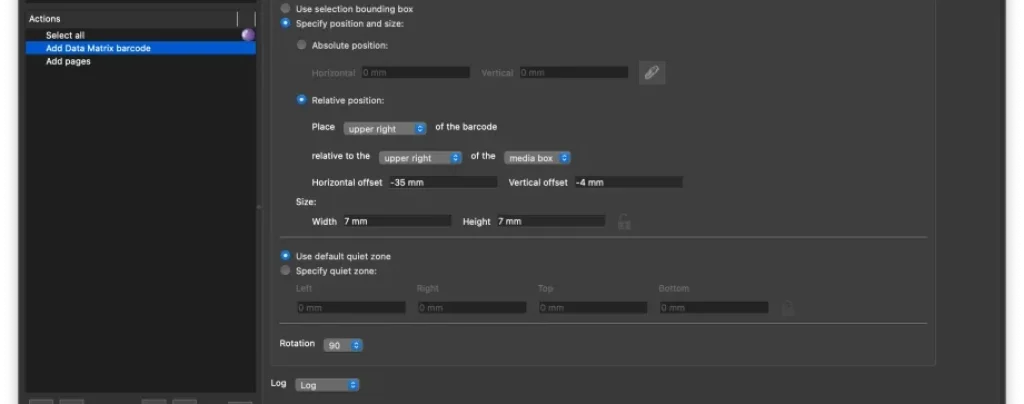
Create a new PitStop Pro Action and add the Datamatrix option. Under 'Value', click 'Variable' and set the increment for %Page Count% to 1 and 'Total digits' to 2. When you choose 'Insert', the value %Page Number;padding=2;offset=1% appears.
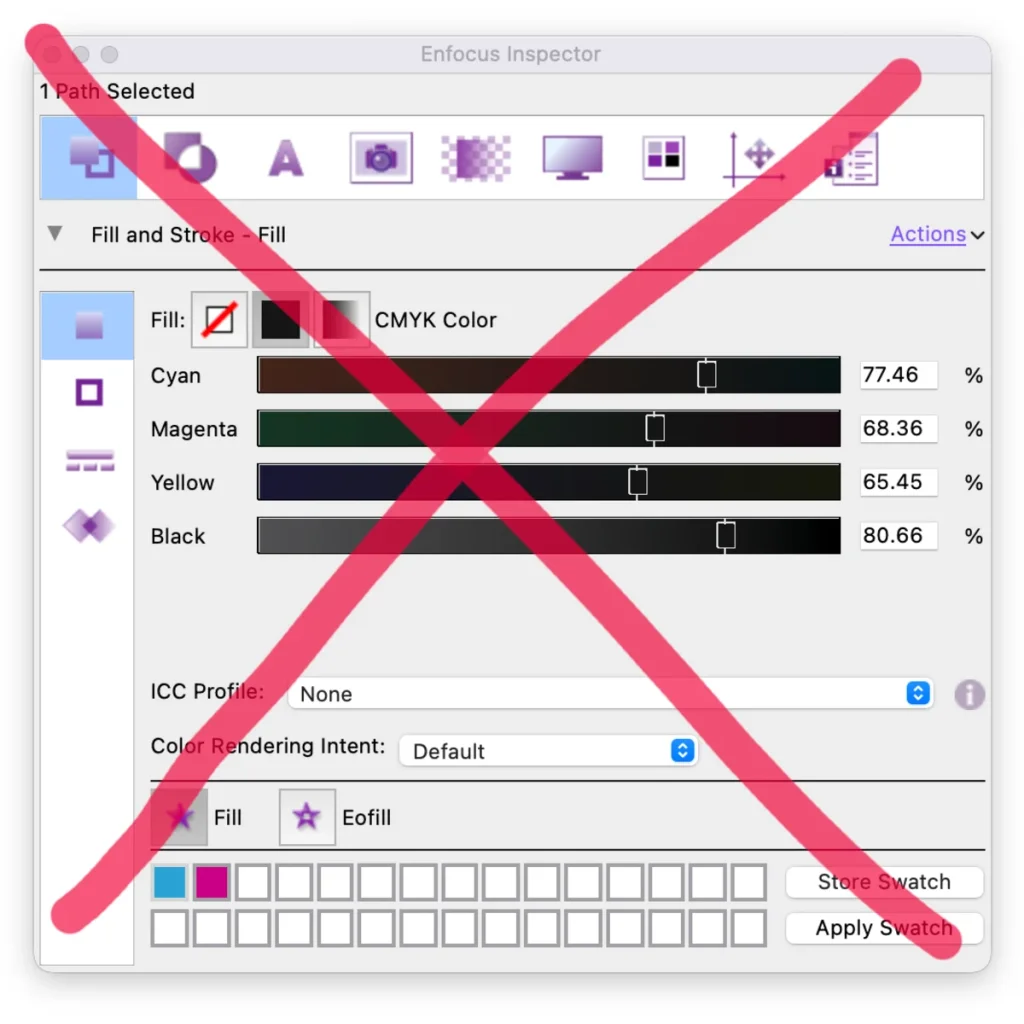
Choose the desired foreground and background colour. Position matters; in the example I choose a relative position.
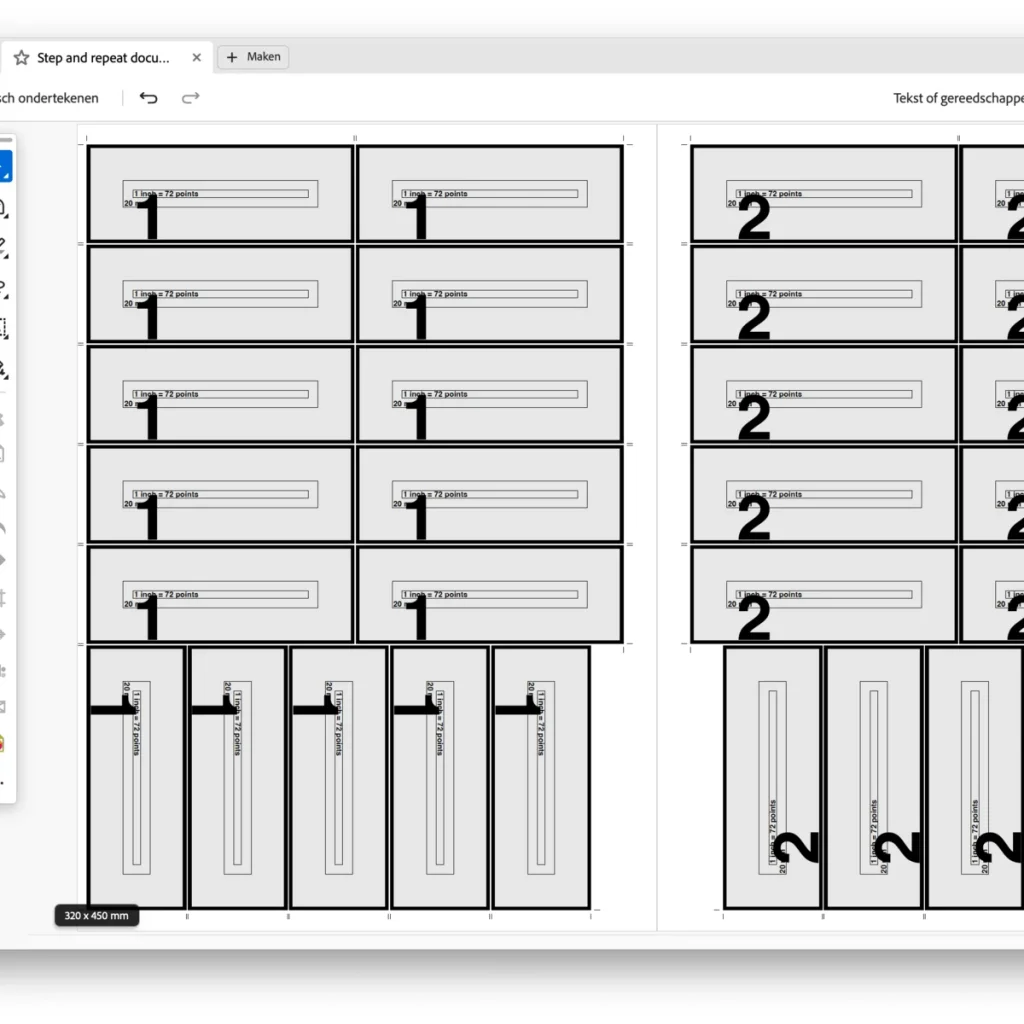
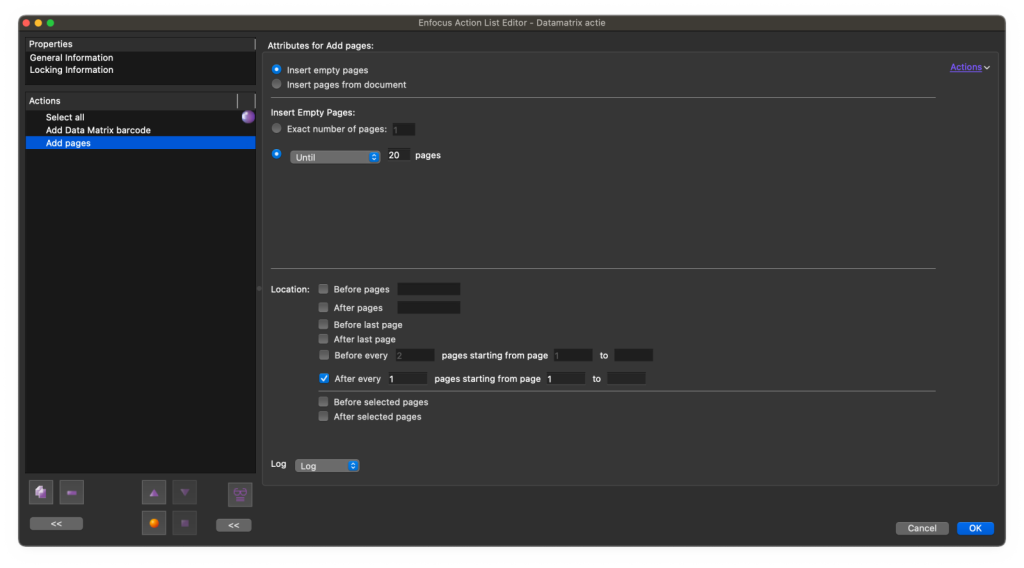
A new 'Add pages' action ensures we have up to 20 pages, with one blank page in between each.
Run the action and save the PDF, for example 'template-katernen.pdf'. If all goes well, you now have a 20-page document with barcodes and registration marks on the odd pages.

Step 3: create an imposition template
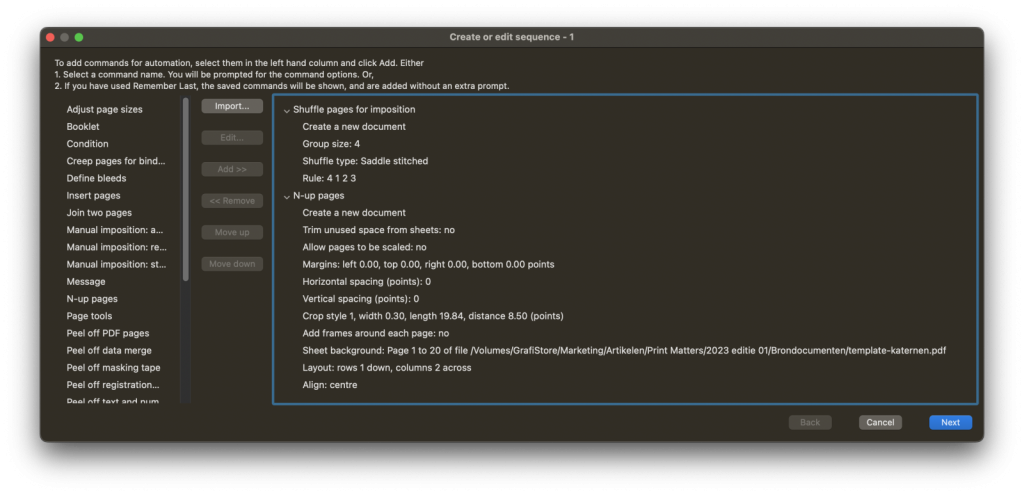
Open Quite in Acrobat and create a new 'Sequence':
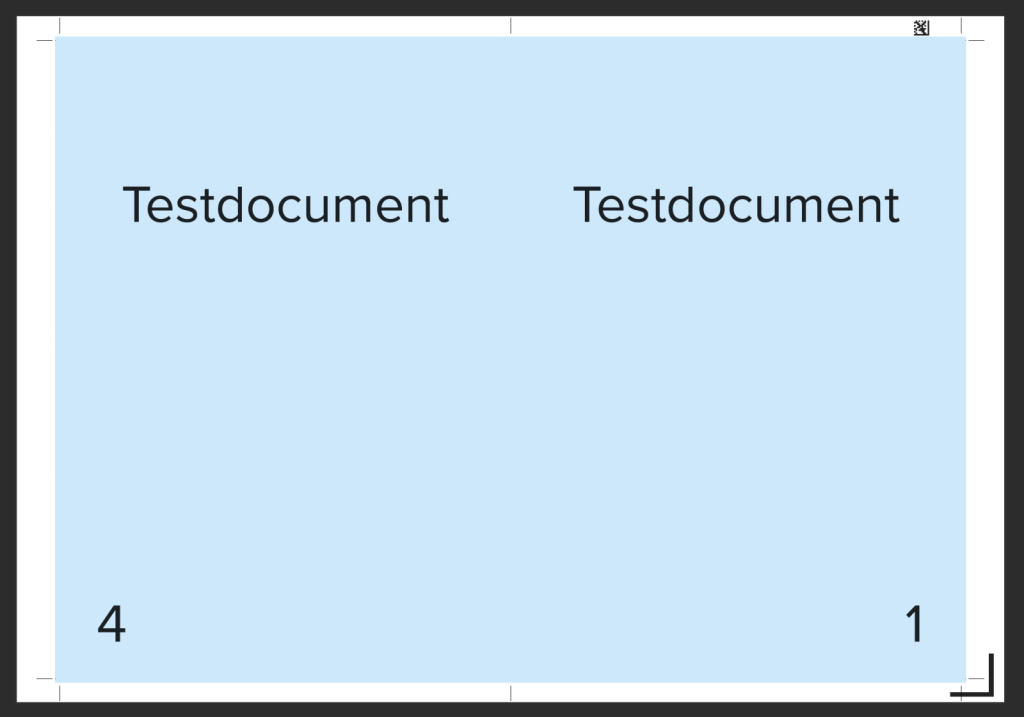
Choose 'Shuffle pages' and enter 4 for 'Number of pages in each group', choose the 'Saddle stitched' method and enter 4 1 2 3 for 'rule'. Optionally use the shuffle assistant. Only the first sheet matters; Quite calculates the rest itself.
Then choose 'N-up pages', leave everything as it is and click 'Next'. We choose no margins, but we do add crop marks. Click 'Next'.
Under 'Size and shape of sheets', choose the template we made earlier. Enter 2 for 'Maximum columns' and 1 for 'Maximum rows'.
Save this as the imposition 'Nieten 2-up op SRA3'. The action can now be reused every time you open a PDF.
In practice
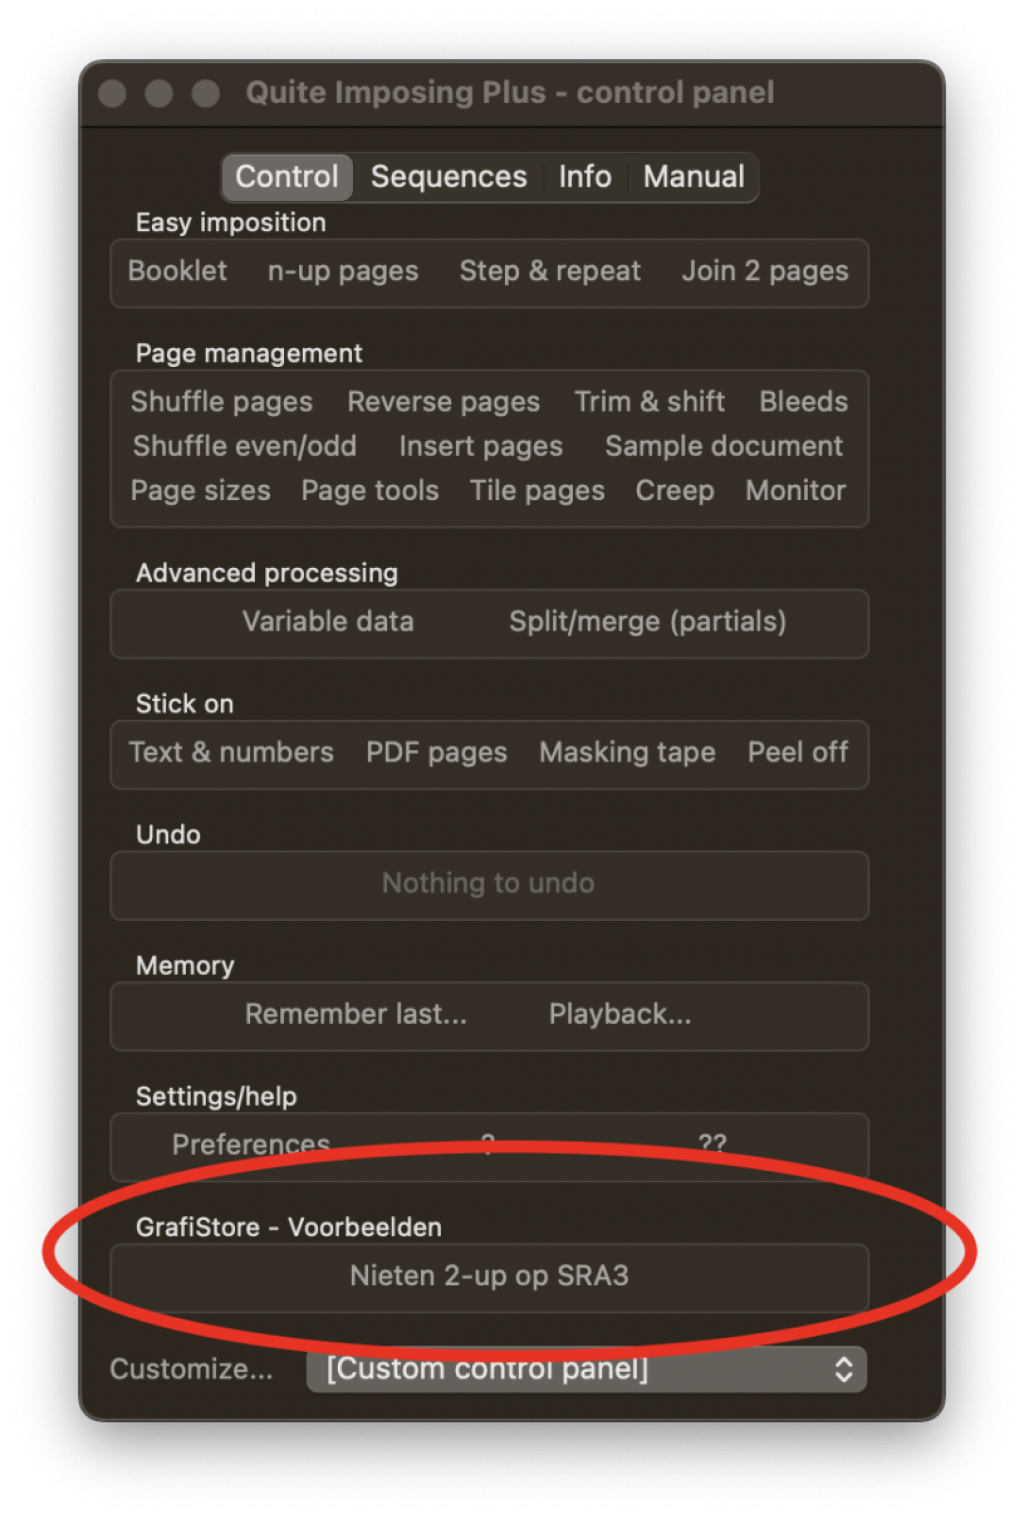
Open a PDF in Acrobat and click the 'Nieten 2-up op SRA3' button.
Want it even easier? Import this Quite setting into Quite Hot Imposing, link it to an input and output folder, and everyone on the network can use it.