Converting full-colour PDFs to greyscale seems very simple. It is — but a predictable result is sometimes a challenge.
Grey is not just grey
In our graphic world, greyscale is essentially only visible on the black plate. In addition, 'built grey' consists of CMYK values, and RGB documents can contain grey tones too. Most people use standard actions from PitStop Pro, Acrobat, callas pdfToolbox or a printer setting for the conversion. We go a step further.
Since PDF/X-1a and Certified PDF, most PDFs have an output intent profile. But Acrobat Professional, the PitStop Pro plug-in and the RIP of the printer or press also have colour management settings. Together these determine the behaviour of the colour conversion.
What's the point?
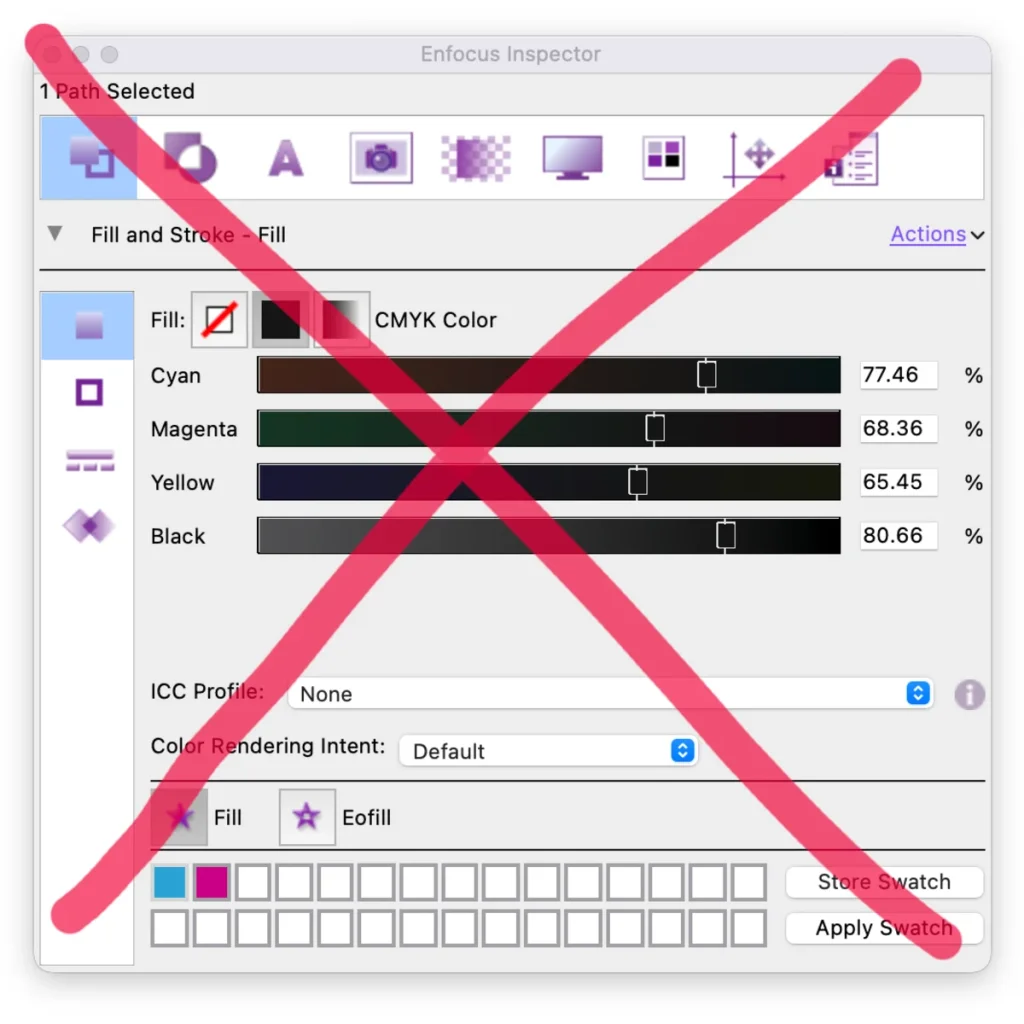
If a colour profile is linked to colours — including CMYK and RGB grey tones — they are converted differently. Even 100% black or white text and line work can suddenly look different, for example 98% on the K plate.
Not converting all pages
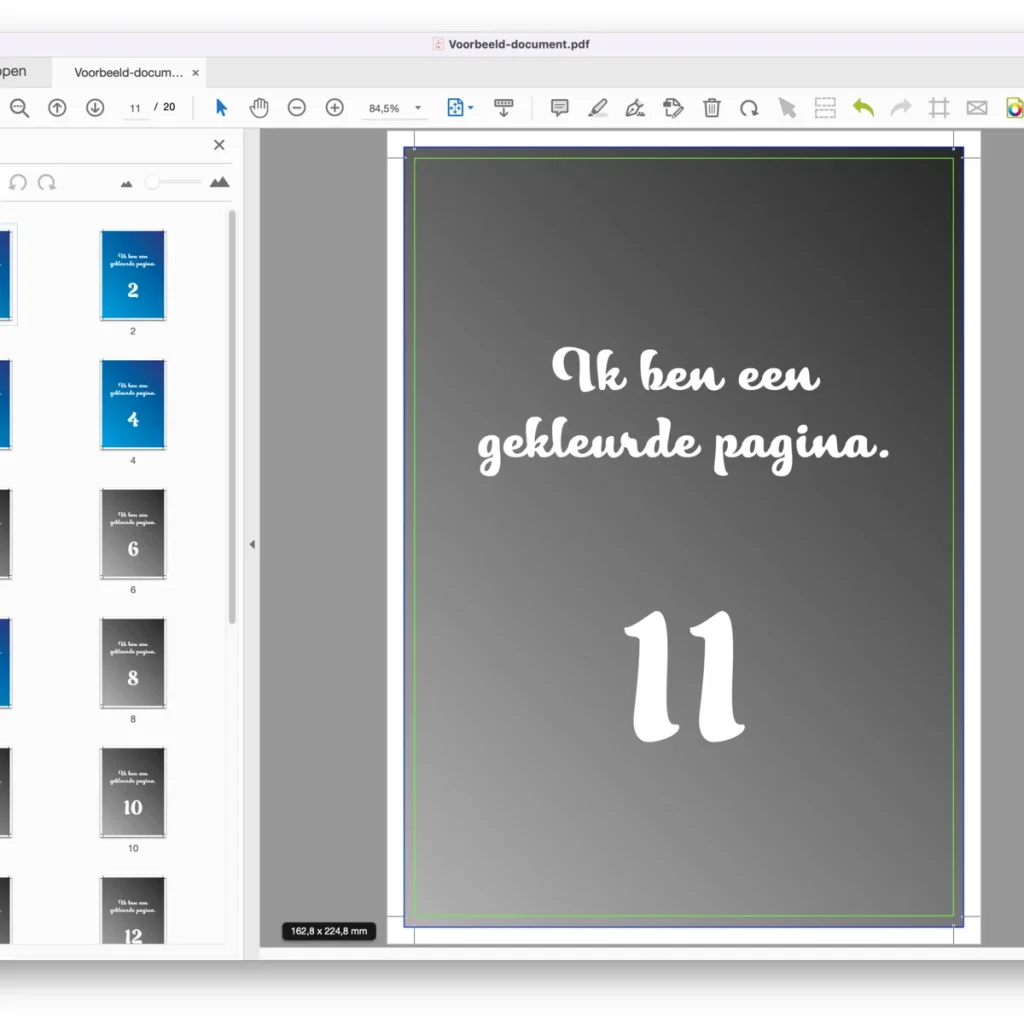
You can! Your client may deliver a booklet of 20 pages and only pay colour charges for pages 1–4, 7 and 16–20. After all, you do not want to pay colour charges for black-and-white pages.
A smart action
We build a PitStop Pro action list based on a well-working action. Lazy, but not tired.
Step 1: Copy 'Convert Color to Gray and Keep Black Text'
This standard action deselects all text that is 100% black or coloured in greyscale (fill or stroke) and converts the rest to greyscale.
Step 2: Add actions at the start and end
Start with 'Select all', then 'Save current colormanagement settings' and 'Override colormanagement settings' (set 'Enable colormanagement' to 'No'; for images use 'General Color Settings' or a setting suited to your production). Finish with 'Restore previous colormanagement settings'. Test it — it should work.
Step 3: Create a variable set
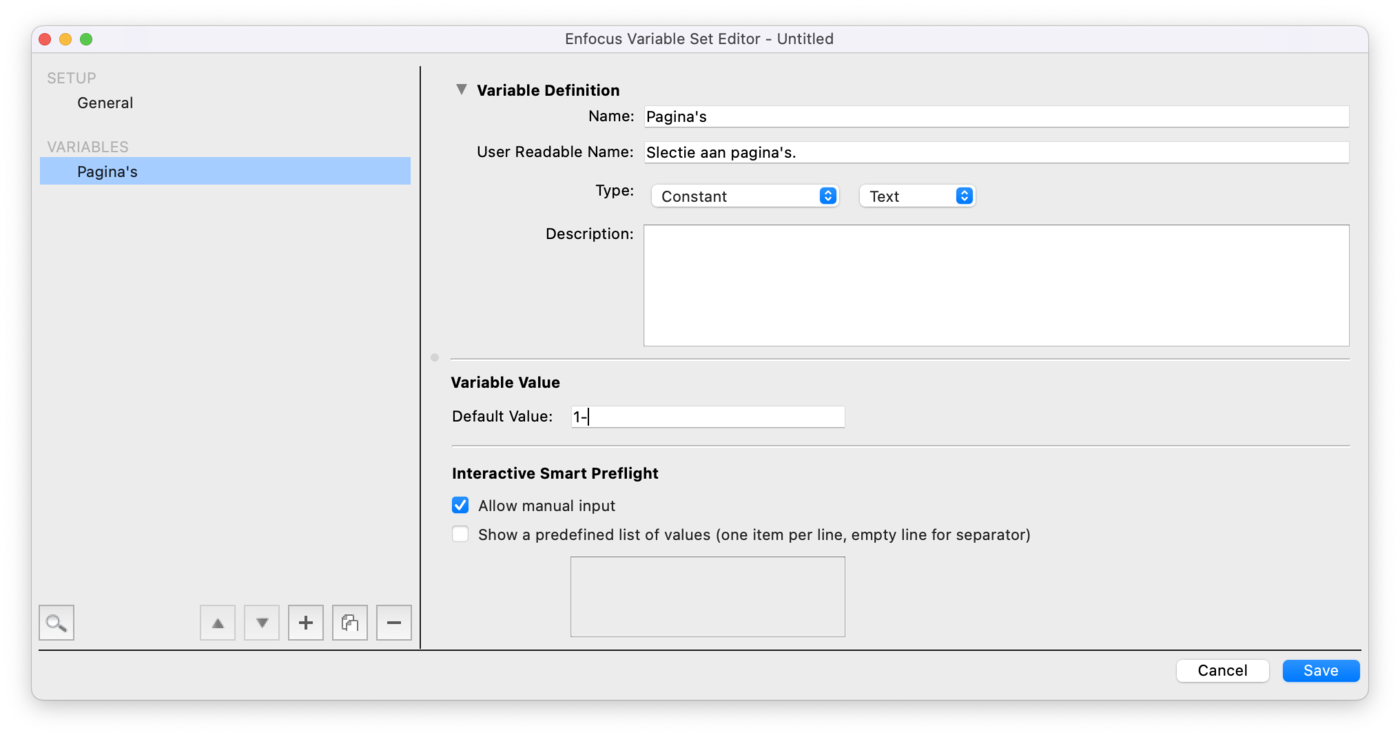
The action uses a selection twice; to minimise clicks we add a Variable Set. Go to [ PitStop Pro > Variable Sets > Variable Set Preferences… ], create a new one, add a single variable 'Pages' (type 'Constant' & 'Text'), click 'Save' and then 'Apply'.
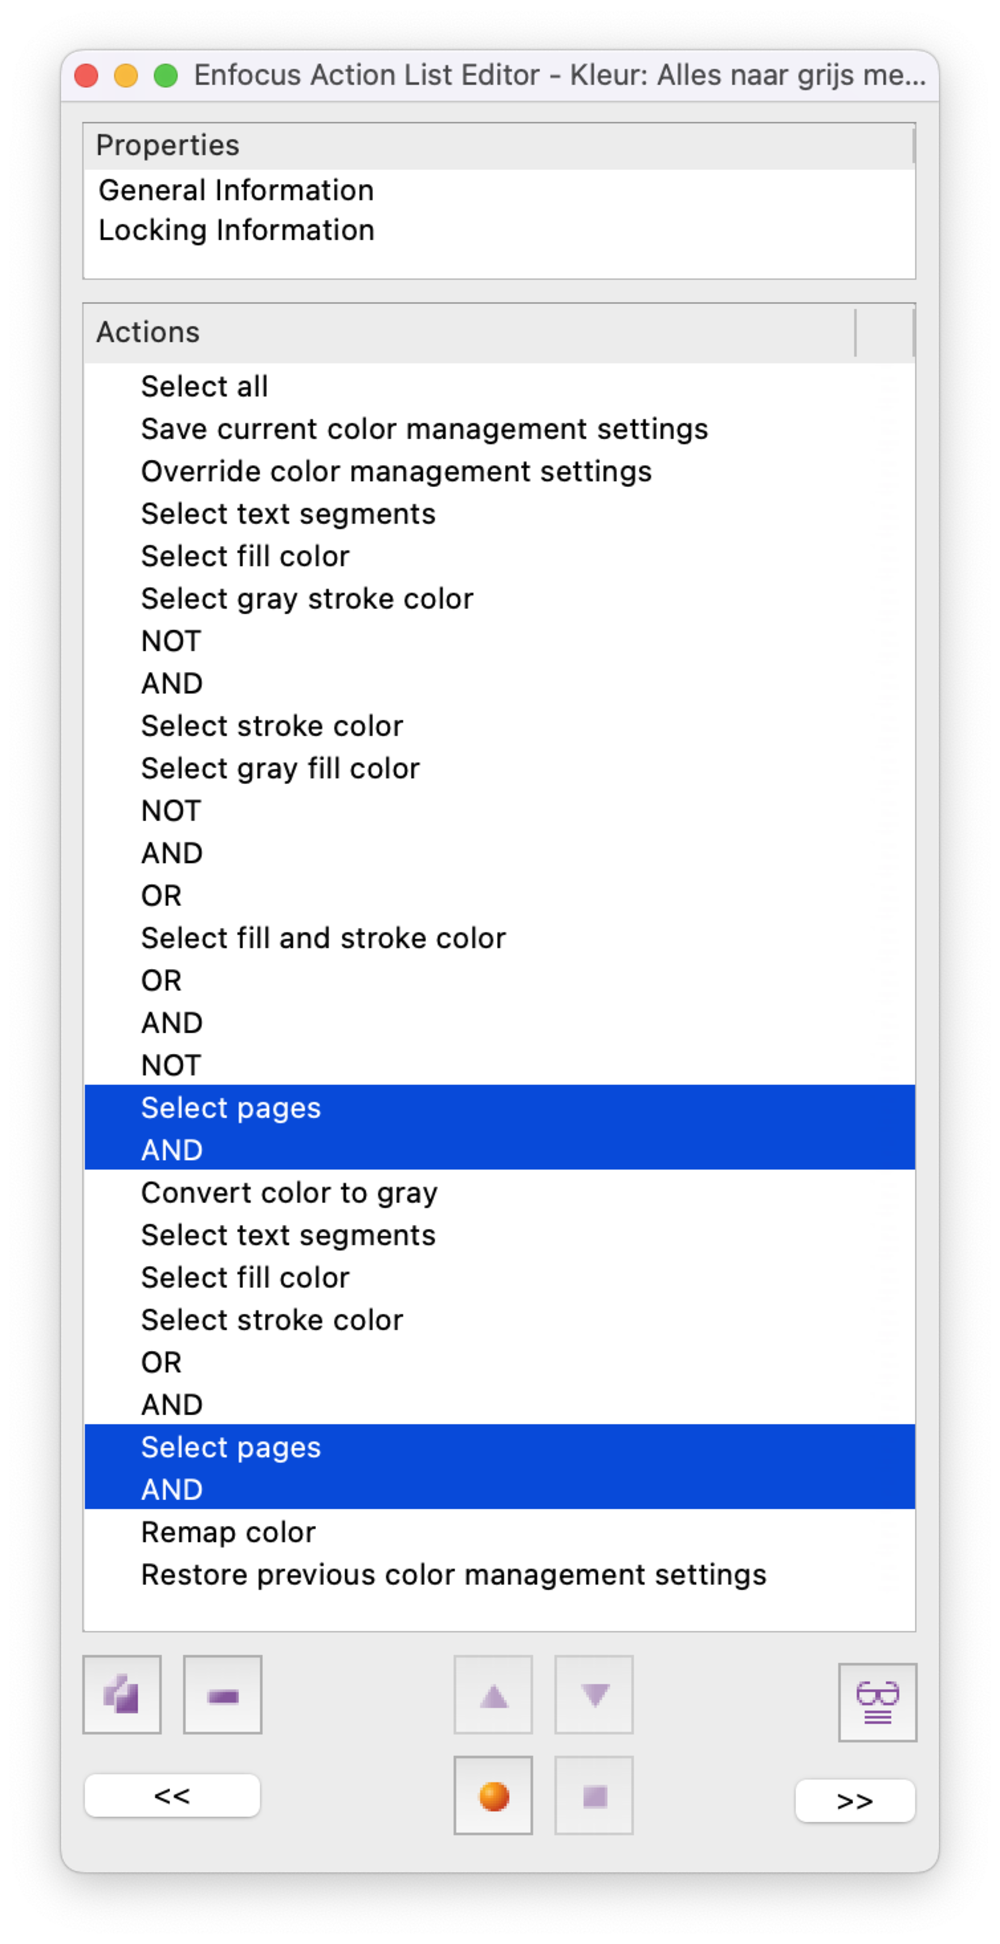
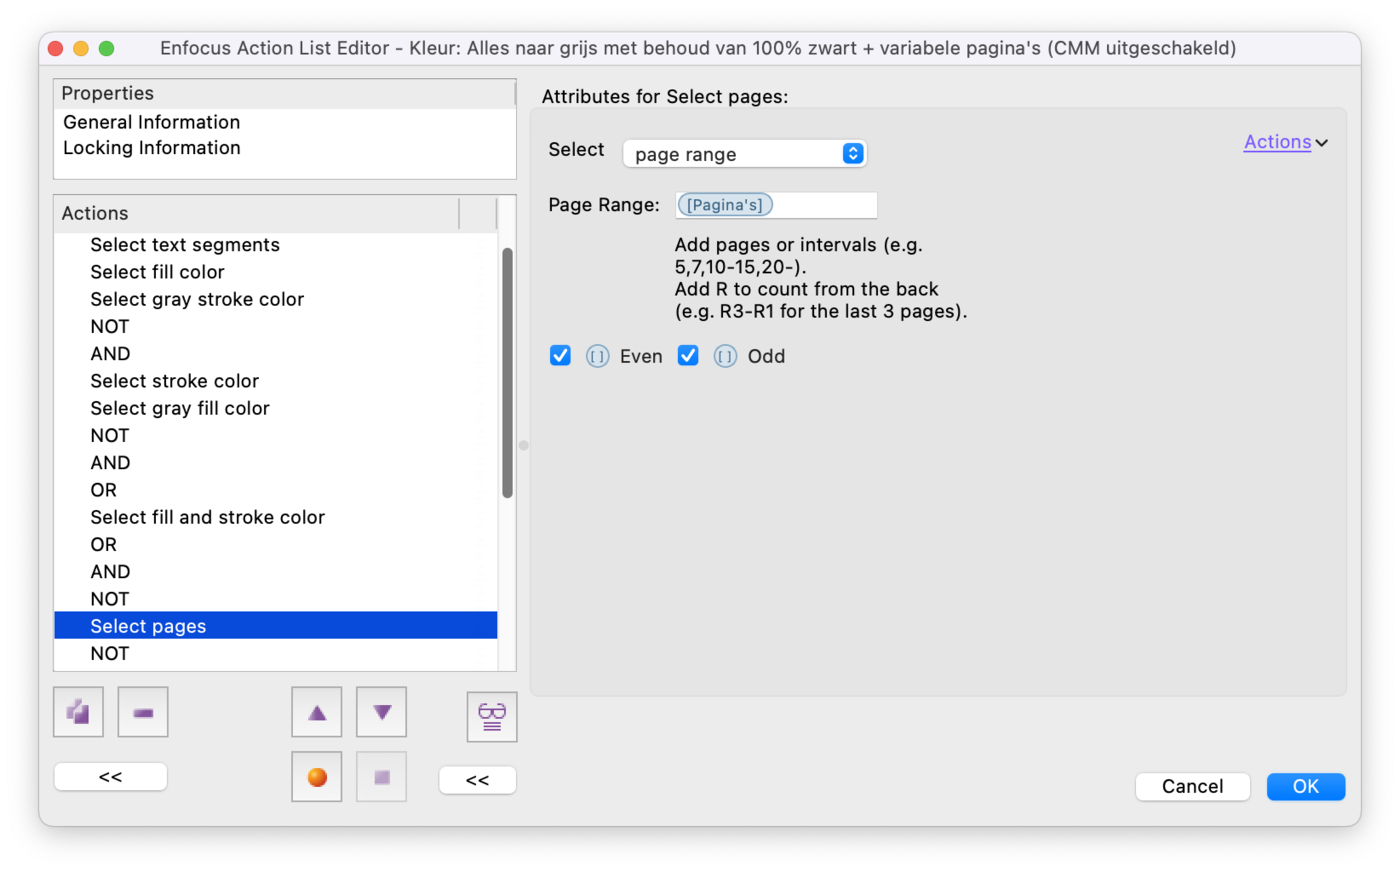
Step 4: Add the variable to the action
Just before 'Convert color to gray' and 'Remap color', add the action 'Select pages' followed by 'AND'. Make the action dynamic via 'Enable Variable names' (top right under 'Actions') and place the 'Pages' variable between the brackets [ ].
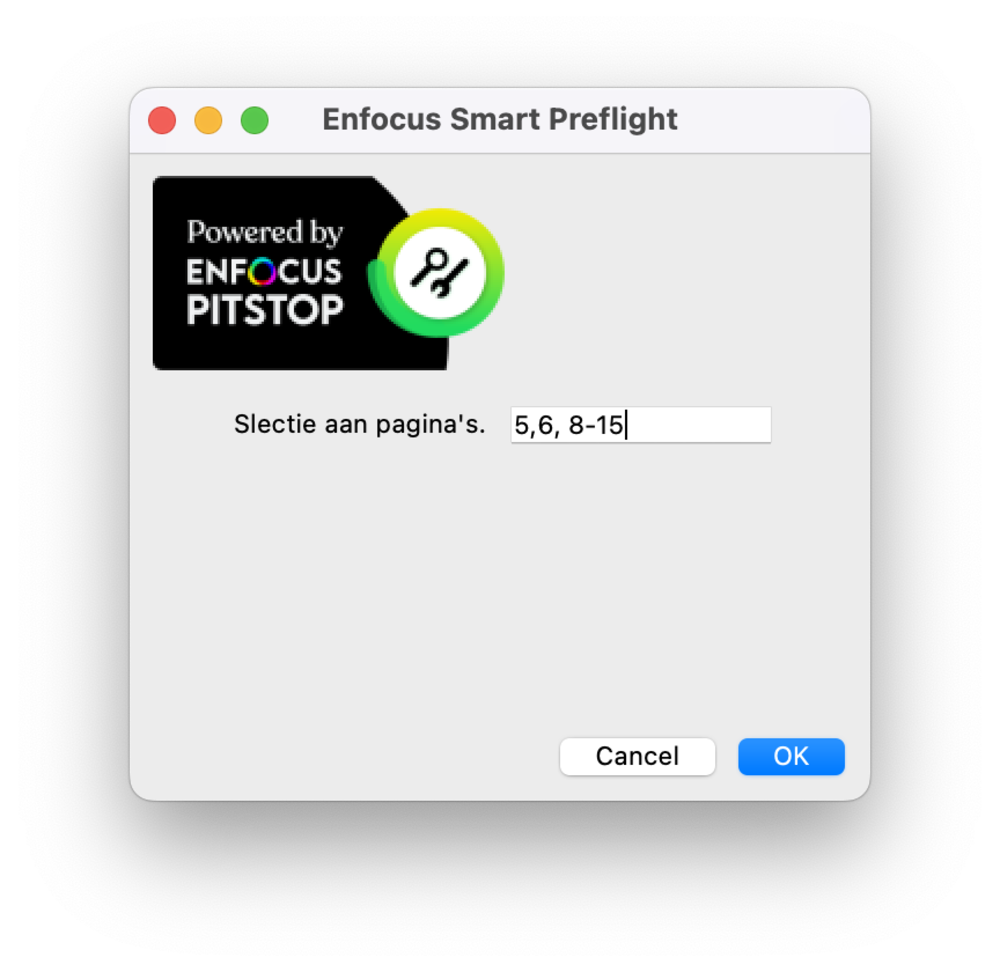
Step 5: Run the action
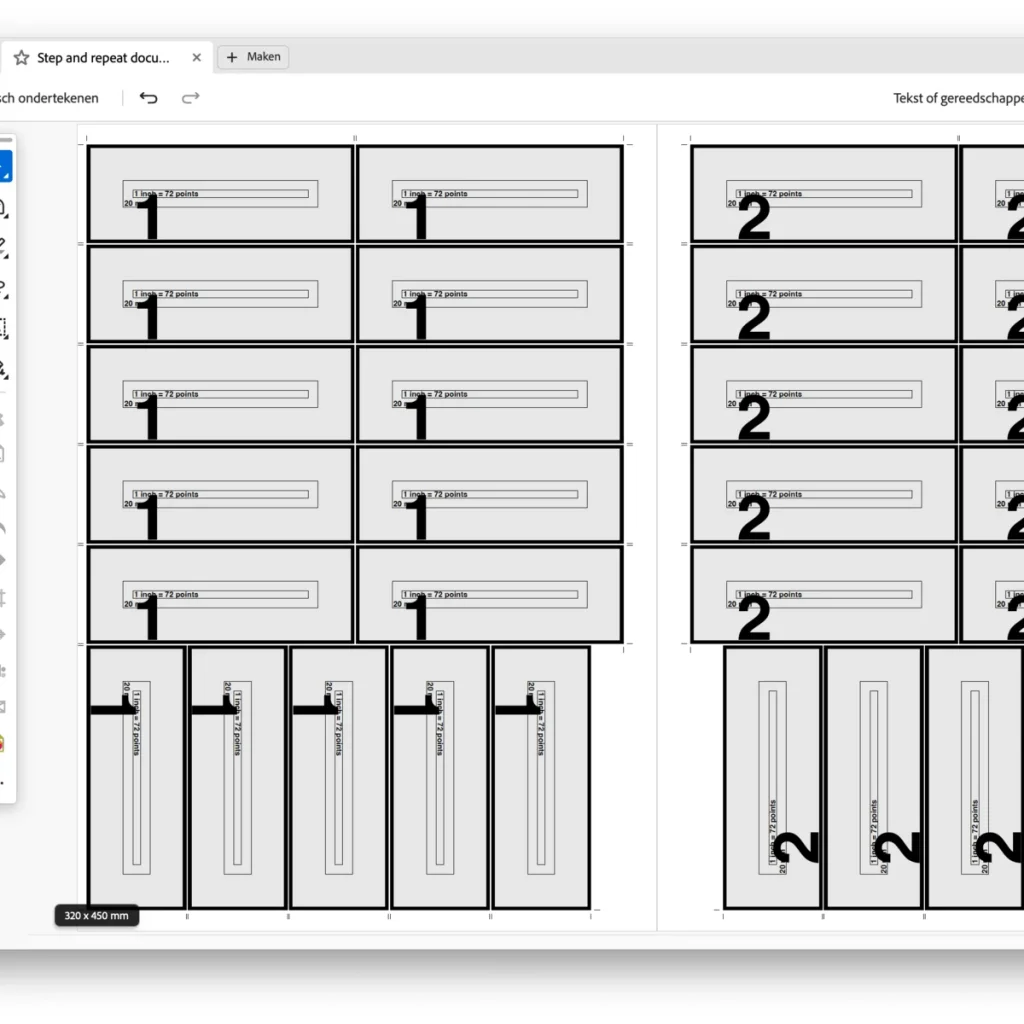
When run, PitStop asks for a variable number of pages. Enter page ranges as numbers with commas, or dashes for a range.
Even crazier: automation
Interested? It can get much crazier: this can be automated with XML or JSON metadata in Switch with PitStop Server. You simply link the variable set to the metadata fields.